currently obsessed / jewelry displays and acrylic trays

i know i'm not the first one to be obsessed with acrylic, but if you're not on this boat you should be. you can pretty much get anything acrylic (or faux acrylic) right now- staplers, shoe boxes, trays, bracelet holders. i love that you can see anything that you put inside acrylic boxes, it adds so much color and life to a room.

IMG_1494.jpg

in the midst of my acrylic obsession i came across an acrylic necklace holder that was the perfect option to replace my vintage-y one. but of course i didn't buy it and when i went back to get it i couldn't find it. i searched everywhere else for a cool and modern necklace holder (no target, i don't want to hang my necklaces on metallic branches with a bird on them). then i hit the mother-load, at west elm, and it wasn't cheap. but it is probably the best thing i have ever purchased (no drama here). a glass and gold terrarium with a necklace/earring holder inside of it. for real. they have a ton of other display boxes in the collection (which i'm also beginning to hoard), but this is by far the best. i'm not sure that they carry them any more, but i wouldn't be surprised if they did sometime in the future, and i'm telling you- you all need to go buy one. 

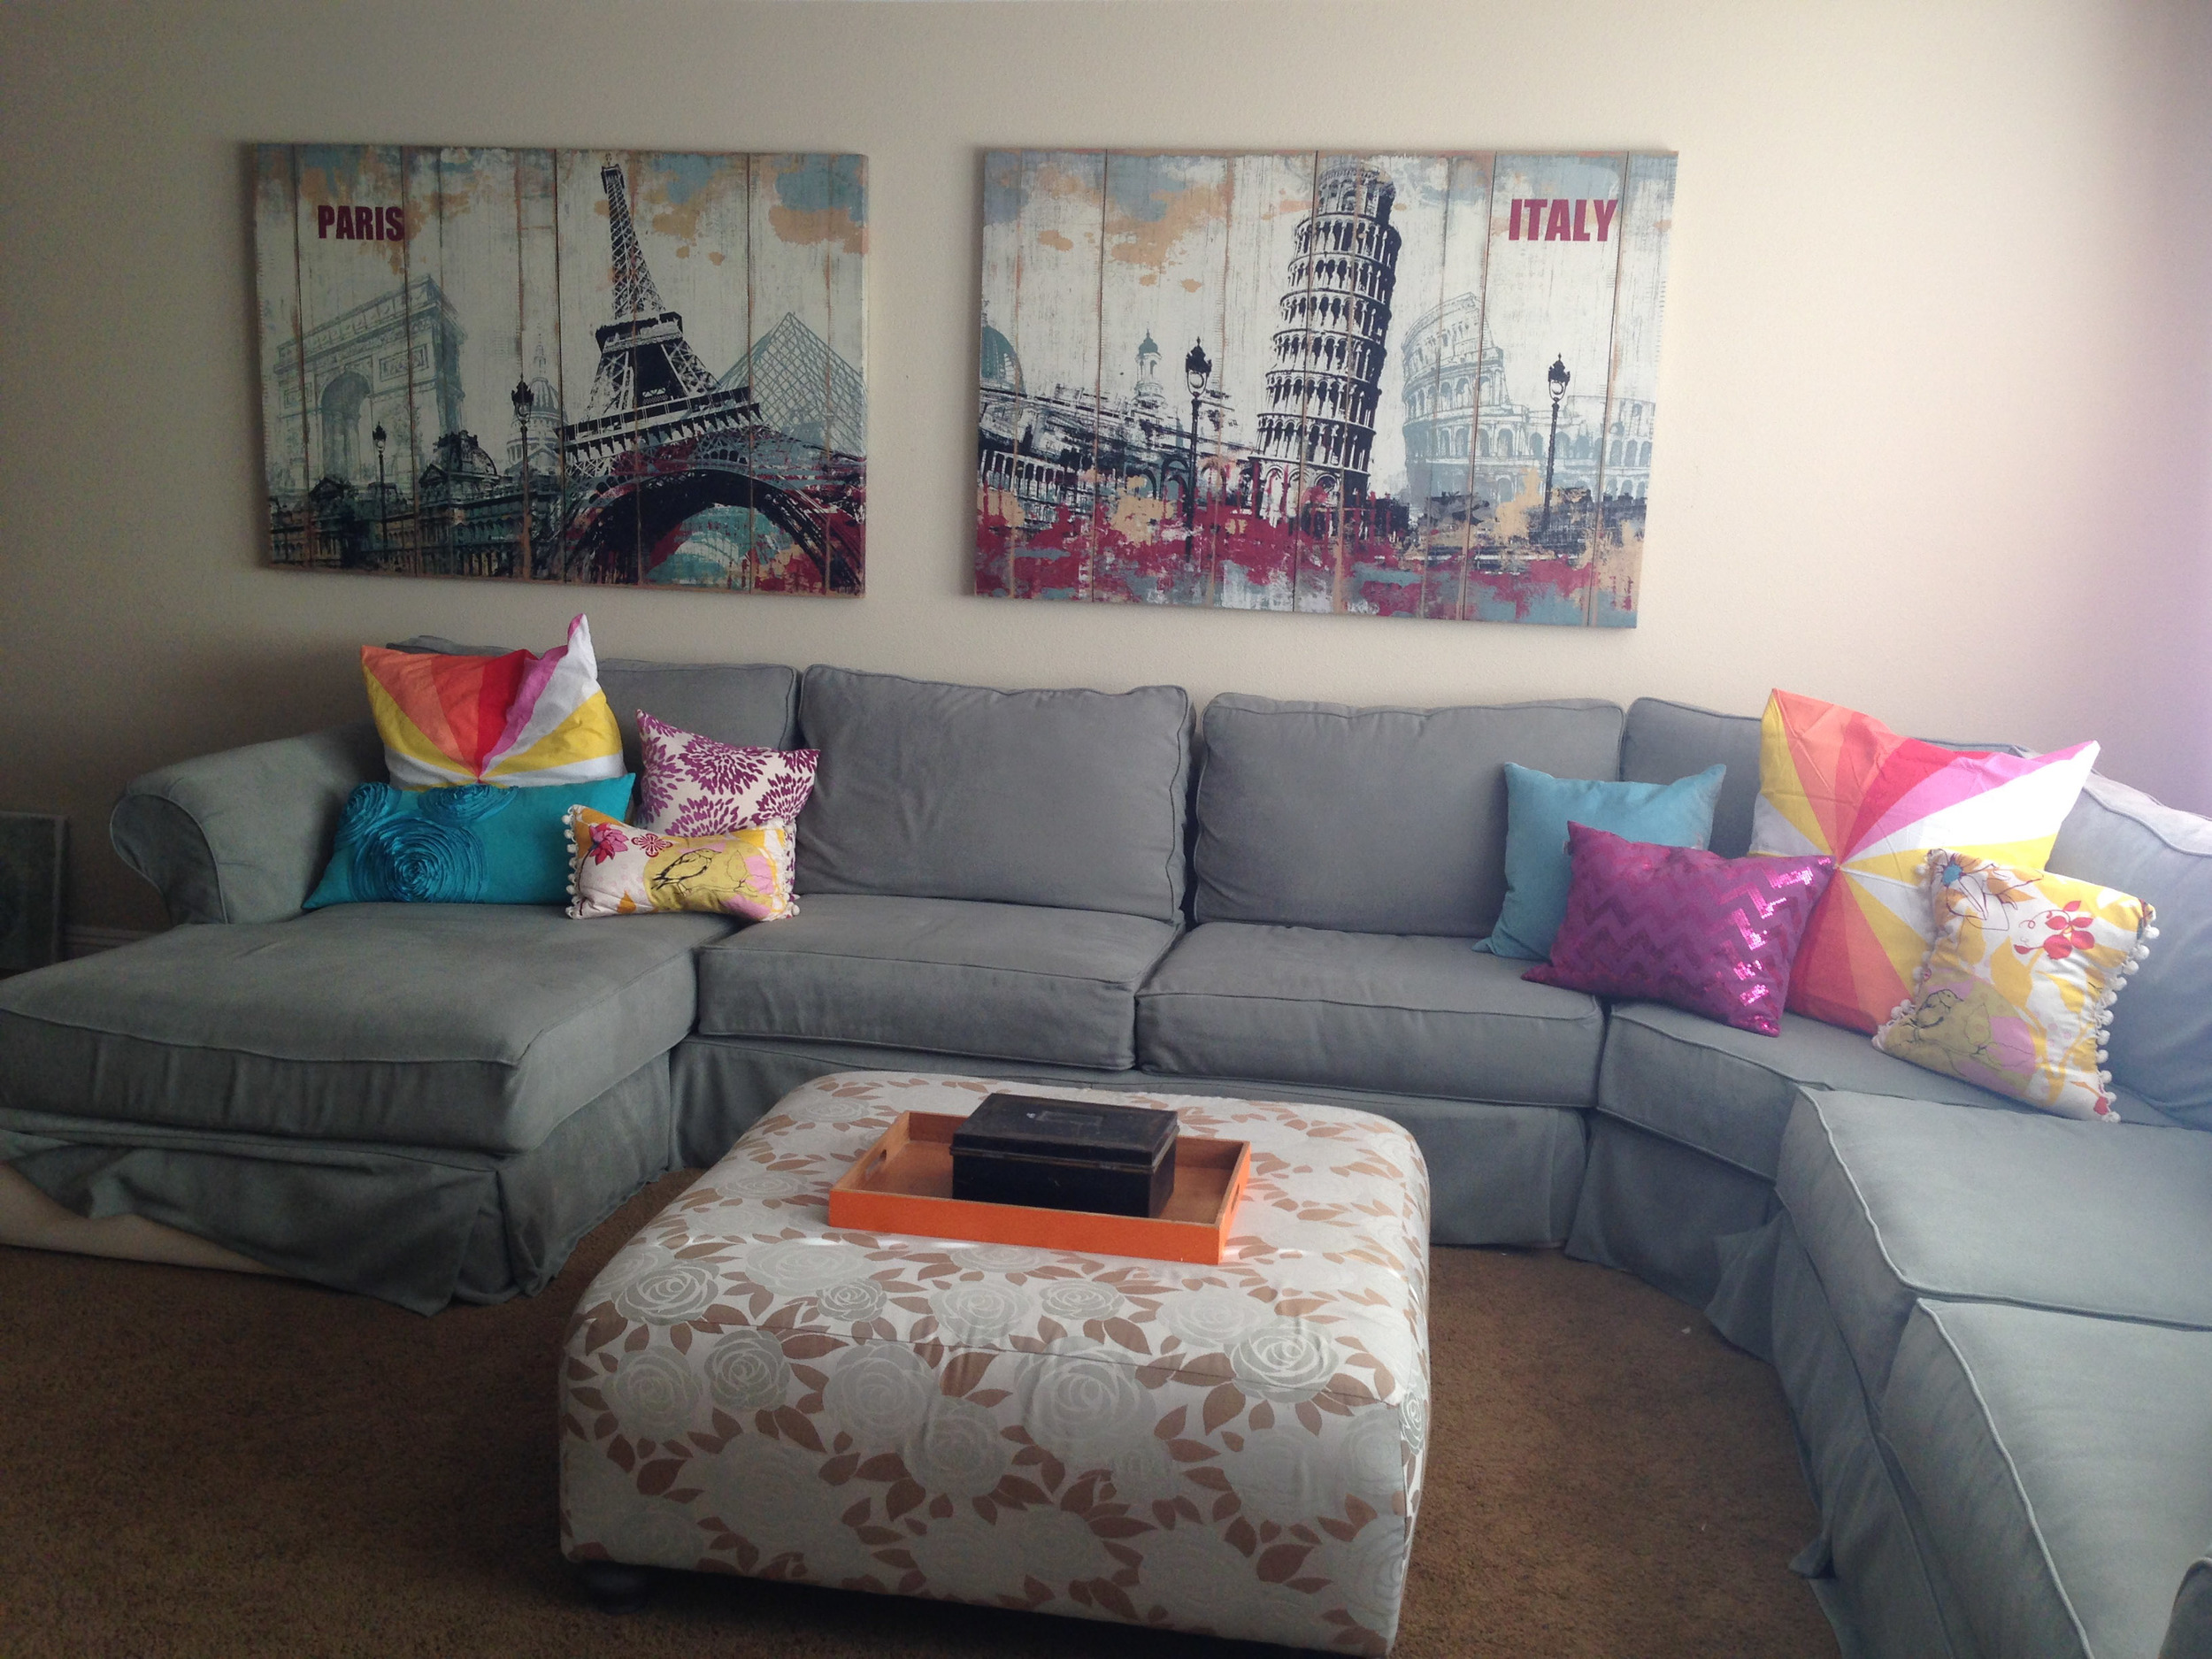
this is my current jewelry setup in my room (but it's on a chartreuse dresser with a tv behind it- white makes everything look better). i found the acrylic items at home goods and marshalls, and the umbrella ring holder at anthro. i am so happy to finally have an updated jewelry section in my room- what i have before was unbearable. 

ps. i had lots more pictures to share with you, but have somehow misplaced them on my computer. oops!

from my camera / pacific beach and la jolla

well i'm back from a long break! the past week has been a whirlwind of emotions, we have had so many changes in our family (for better and worse) that i needed to focus on other things. i am excited to be back though and have lots of fun posts planned for this week.

today is my birthday!! i'm 24 now, which i am actually happy about. for some reason telling people i was 23 made me feel like such a baby who thought they had it all together. 24 is going to be a good year for me! this weekend jarman started off the festivities with a bang. he got us a hotel in la jolla for the night, and took me shopping and to dinner. it was hilarious seeing him try to make it through fashion valley mall with a very excitable me. but he survived to tell the tale.

the next morning we headed over to pacific beach (where jarman thinks we should move during law school). it was actually really pretty! i felt like i always hear about the bad reputation of pb- it's the party/drunk scene for younger people (which i am not anymore- as of today!). i loved it though- of course i would be totally happy to live in any beach city.

after pb, we went to the la jolla tide pools. i have such fond memories of visiting tide pools as a kid, and it was really just as fun as an adult. la jolla has always been my dream city. we had such a fun time staying there. 

IMG_2236.jpg
IMG_2172.jpg

here's to a great birthday and my best year yet!

fashion / sydney's birthday dream!

it's sydney's birthday today!! we are so sad that we don't get to celebrate with her but will be thinking about her all day! before sydney left on her mission (it has been two weeks today and already feels like forever!) we had to go up to la to get some paperwork for her visa. she had talked about taking pictures at the urban light sculpture at the lacma, so we made her dreams come true and did just that. we actually photographed a bunch of different outfits to create a little stockpile for while she was gone (of course they'll only last about a month though!). i think i'm going to get one of the photos framed but i can't decide which!

syd is wearing an old juicy couture dress of mine that is perfect for spring/summer. i love the bright pattern and the big bow in front. we put my black and white peter pan collared shirt underneath (she got bright red lipstick on the shirt when she put it on! can you spot it?). her little flats were from tj maxx, but we have seen shoes like that all over the place right now. 

we walked around the lacma a little bit more- it is one of my favorite places in la!

happy birthday sydney! i know you won't see this but i love you and am proud of you! if anyone wants to send her some birthday love you can email her at [email protected].

photo shoot / nicole's maternity session

IMG_1586.jpg

i was more than excited when nicole, one of my best friends, asked me to do her maternity shoot. nicole is gorgeous and has the most adorable baby belly. what's even better is she let me do whatever i wanted for the shoot (she is the easiest and nicest person i know). i had seriously thought about how i wanted to do it for months, but of course pulled everything together last minute.

i always knew i wanted to use our vintage couch we got for my wedding (from a thrift store for $75! can't beat that!). i decided to put it in front of our back sliding glass door, and hung tulle ikea curtains up as the backdrop. i have been inspired by bright white photographs lately and wanted the perfect lighting. i went to my favorite antique store and found some vintage night gowns that completed the look.

IMG_1666.jpg
IMG_1657.jpg

doesn't this first dress remind you of wendy moira angela darling? i love that it came with a slip and a robe and has such perfect lace detailing! 

this is the second night gown i purchased. it looked a little bit hospital gown-ish on, but we loved having it open for some bare-belly shots. 

for her third outfit i knew i wanted to do a black maxi. luckily sydney has one and left it home for me to wear almost every day. it looked awesome on nicole and created the perfect contrast against the bright white sky. i wanted to do some outdoors, but it was super windy so we didn't get to take a ton. we used the vintage umbrella that kira got me for christmas one year. i think these picture would make the coolest prints (if i do say so myself!).

IMG_1890.jpg

thanks nicole for letting me take your pictures! i can't wait to take more of your little lady! 

ps. it was really hard to narrow down these pics- i might have to do another post of outtakes!

diy / oversized and mistmatched art

i am kind of rude to my mom sometimes and tell her how ugly her loft is. it has been in need of some sprucing for years now. i, of course, want to just do away with the big things like the couch which i think is too big and bulky (though super comfortable and can fit my whole family for sunday naps). however, the easier solution is to change out the art. we had two large canvases above the couch, so we figured rather than just getting rid of them (they are the perfect size), we would paint over them! in fact, we only used things we already had (canvases and paint). here is how we did it:

before:

prep work:

first we took the paintings down in to the garage and did a grey primer coat. then we topped them with two coats of glossy white paint. this was the part of the process that took the longest (and it was the least rewarding- i was tempted to leave it with the partial white coat you see below!). we thought about spray painting but we figured each of the paintings would take a couple of cans (which we didn't have), and we liked the look of brush strokes).

next we went through our paint to figure out a color scheme. we tried them out on plain sheets of paper to see what we liked best. we used house paint and craft paint. the gold was the only craft paint that we used and it took two bottles- one of them went on a lot thicker but i can't remember which brand!

painting #1:

for the first painting we wanted to do a roughly striped pattern. i measured the sides of the canvas and divided it into fourths, marking the edges with small pencil marks. then i just roughly brushed on the paint. i did two coats of each color.

IMG_3081.jpg

painting #2:

i knew i wanted to do something with triangles for the second painting, but couldn't decide what would take the least amount of work. bobette came up with this idea and i love it. to do it, i measured down the middle and marked on each side. then i divided the long sides in to five parts. i marked down the middle making deep v's (rather than shallow ones).

i painted the stripes one by one. for this one i tried to do the coats thick enough so i didn't have to do a second one for each stripe. i took the tape off pretty quickly after i finished painting- it looked awesome. my lines aren't perfectly straight and there are some places where the paint bled under the tape- but i love it nonetheless.

the finished products:

IMG_1522.jpg
IMG_1540.jpg